Saturday, June 28, 2014

Make it shine

I've had the E21 up on stands and ramps for the last couple of weeks sorting out the exhaust. I had a look at it the other night while walking past and decided it was probably about time I had a go at giving it a decent polish.


The surface of the roof looked a little worse for wear. I probably can't do a lot for this other than eventually re-painting it, but it's worth trying to see what I can do with what I've got.


This is the roof and sunroof, I'm focusing on what should be the reflection from the Fluro light in the garage.


Just a random shot I snapped off while I was there.


Here's my Concours 900 DA polisher, ready to go with a microfibre/wool pad and Menzerna 1000.


Boot-lid before


Side with some water beading after applying Menzerna 1000, 2000, 3000, then Meguiars Gold Class Liquid Wax.


Closer


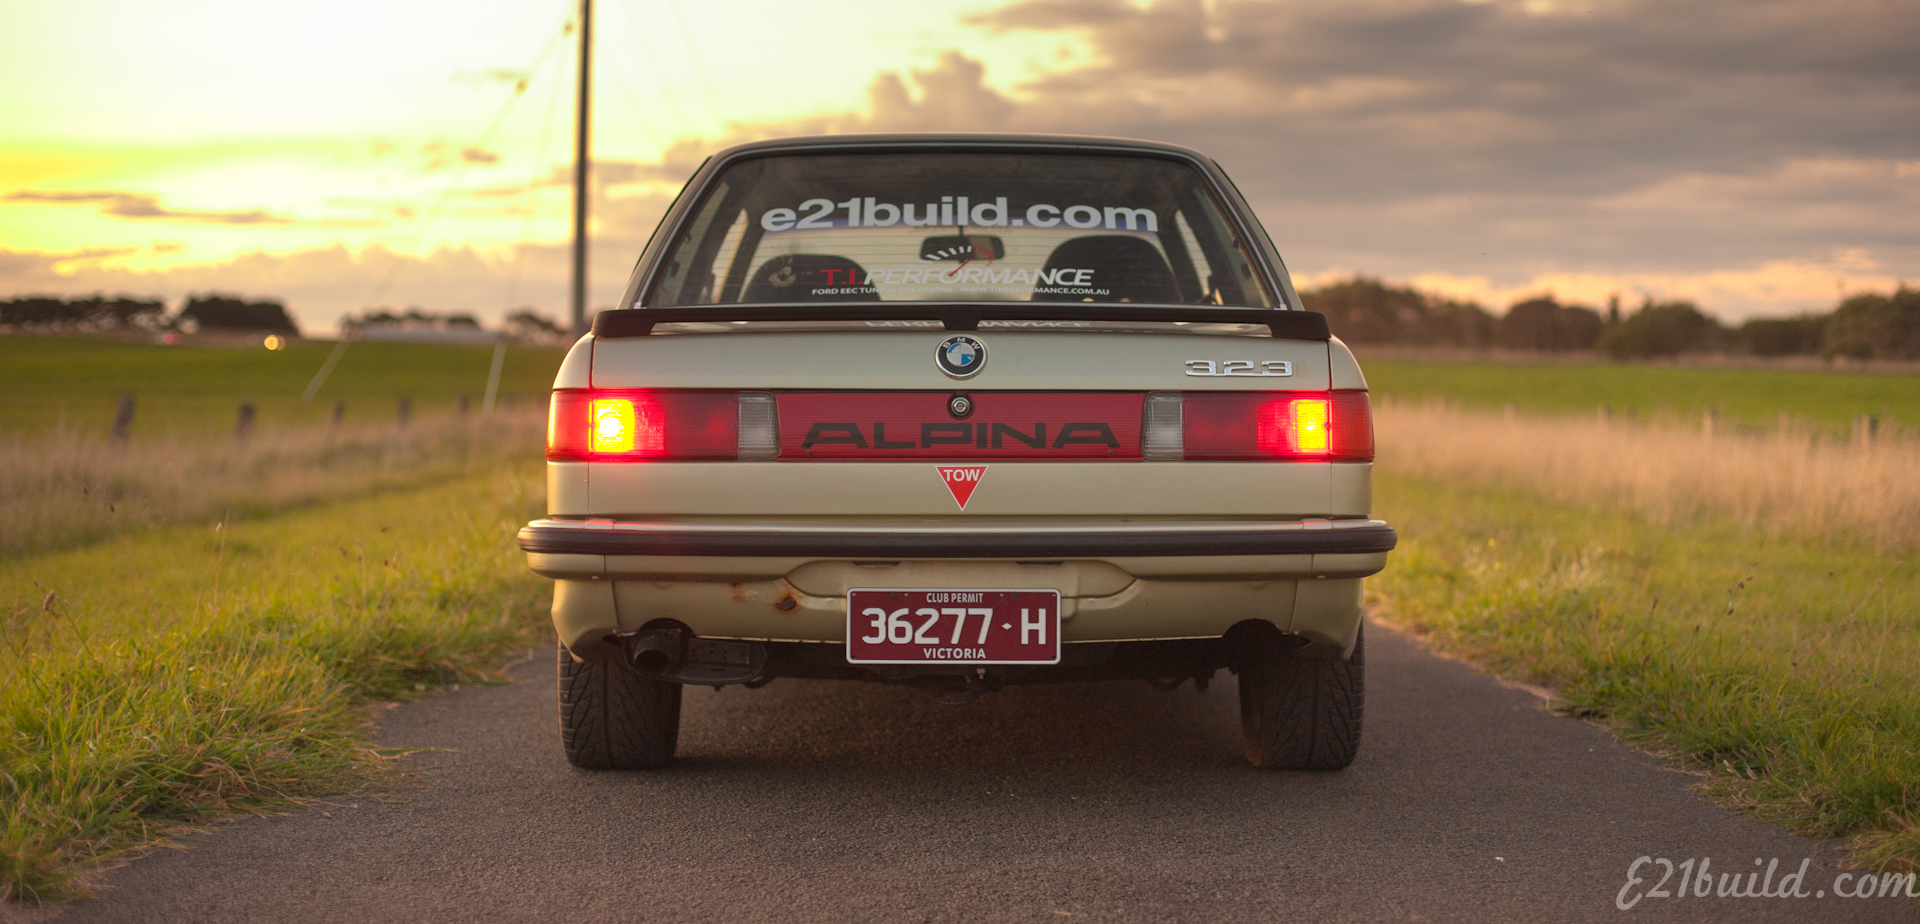
Missing "i" from the 323 badge is not so obvious now it's been polished.


I polished the tail lights and garnish with the machine and waxed them while I was there.


More beading.


Whole car done, bar the bottom of the front bumper, and the front BBS spoiler because I couldn't easily get to them with the car on the stands (up against the wall)


I put some armorall on the dash. Mostly because I think this would have been done years ago and is probably responsible for the cracks that have already established themselves there.


After parking outside for the sunlit shot above, back into the shed with some nice rainwater beading. This is the sunroof/roof.


The bonnet and bonnet vent.


The roof (note the reflection of the light still has some texture, I think what clearcoat remains on the roof is in the process of failing. It's likely to all get re-done when the rust around the windows etc gets fixed.


Passenger side bonnet grille.


Side on shot - I've even waxed the windows. Note the leading edge of the bonnet is a slightly different colour to the rest of the bonnet and this shows now that the car is extremely shiny.

Sunday, June 15, 2014

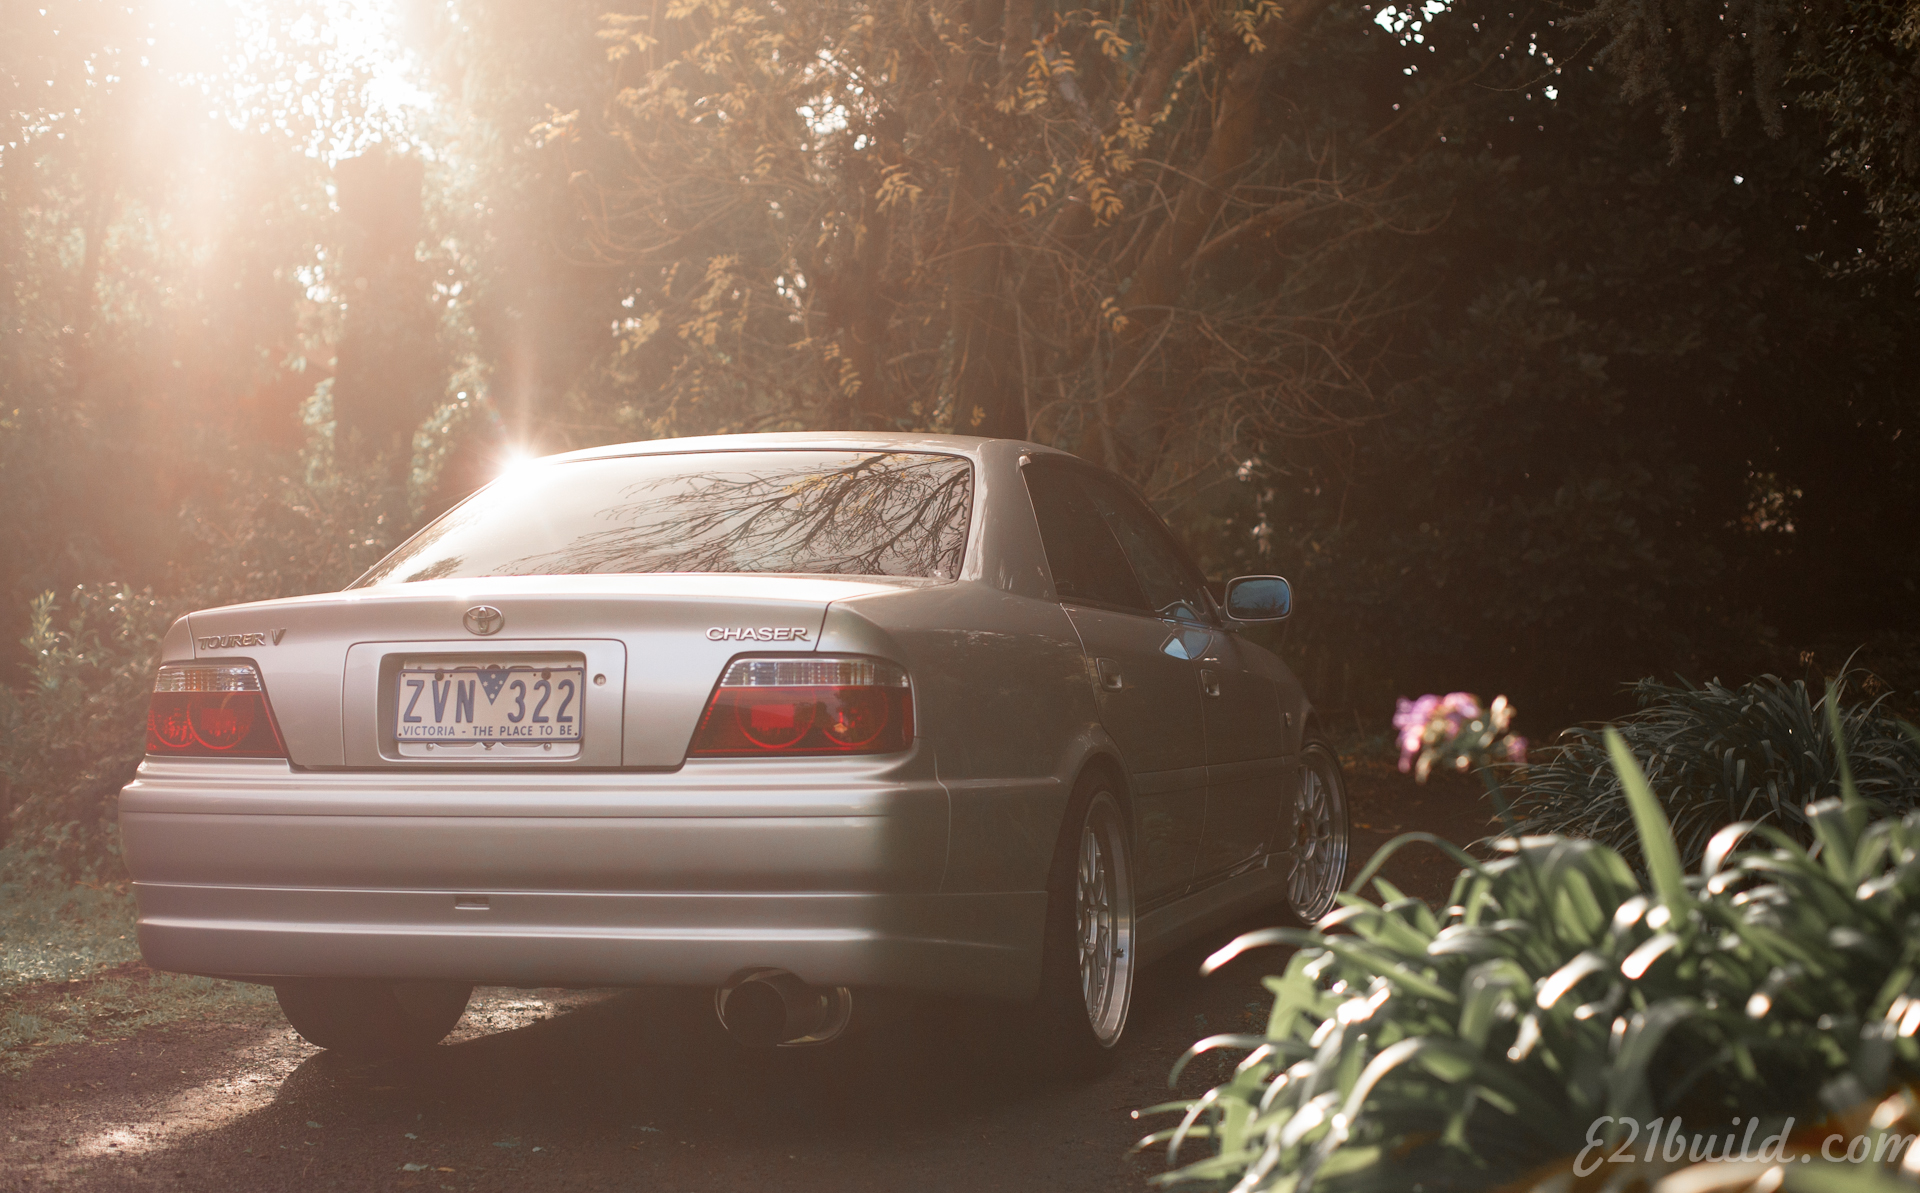
Joshes Toyota Chaser

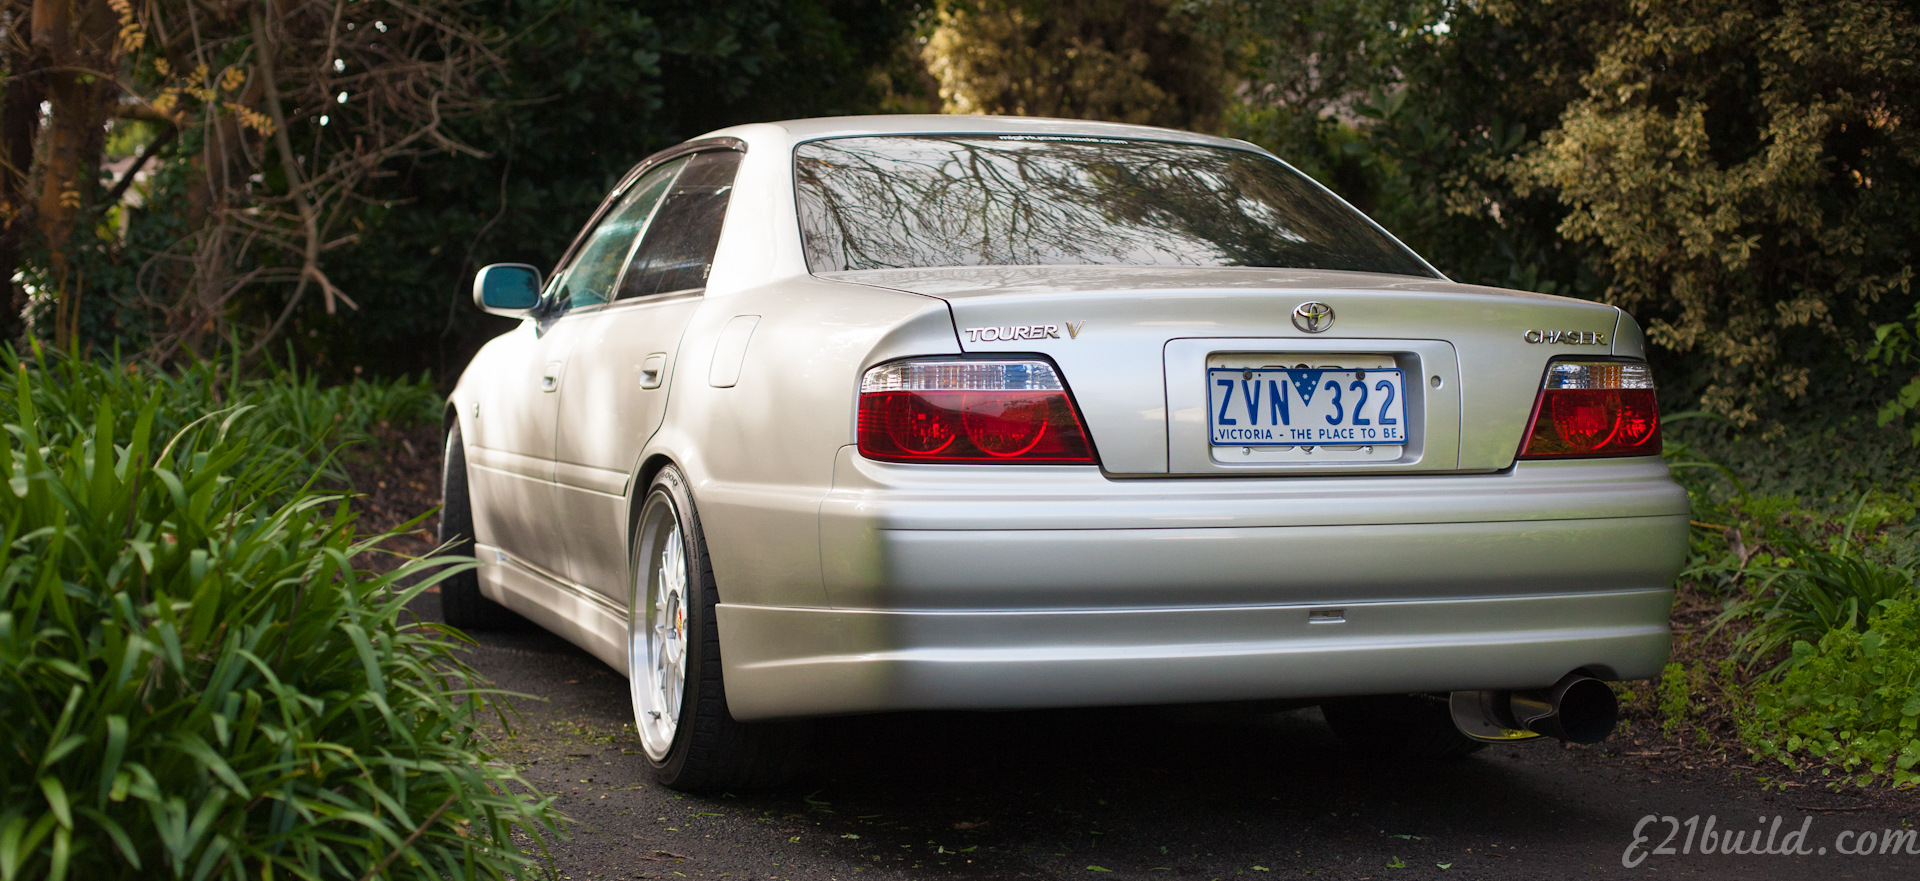
Today I had the opportunity to snap some pics of Josh Quantrelle's rather nice 1999 Toyota Chaser JZX100.


Since I had my kids I only snapped these shots in the driveway at home; not much varying environment for these ones then...


Running a factory 1JZ with single turbo, paired up to a Power FC turning the boost up to 14PSI means this machine has the go to match its looks.


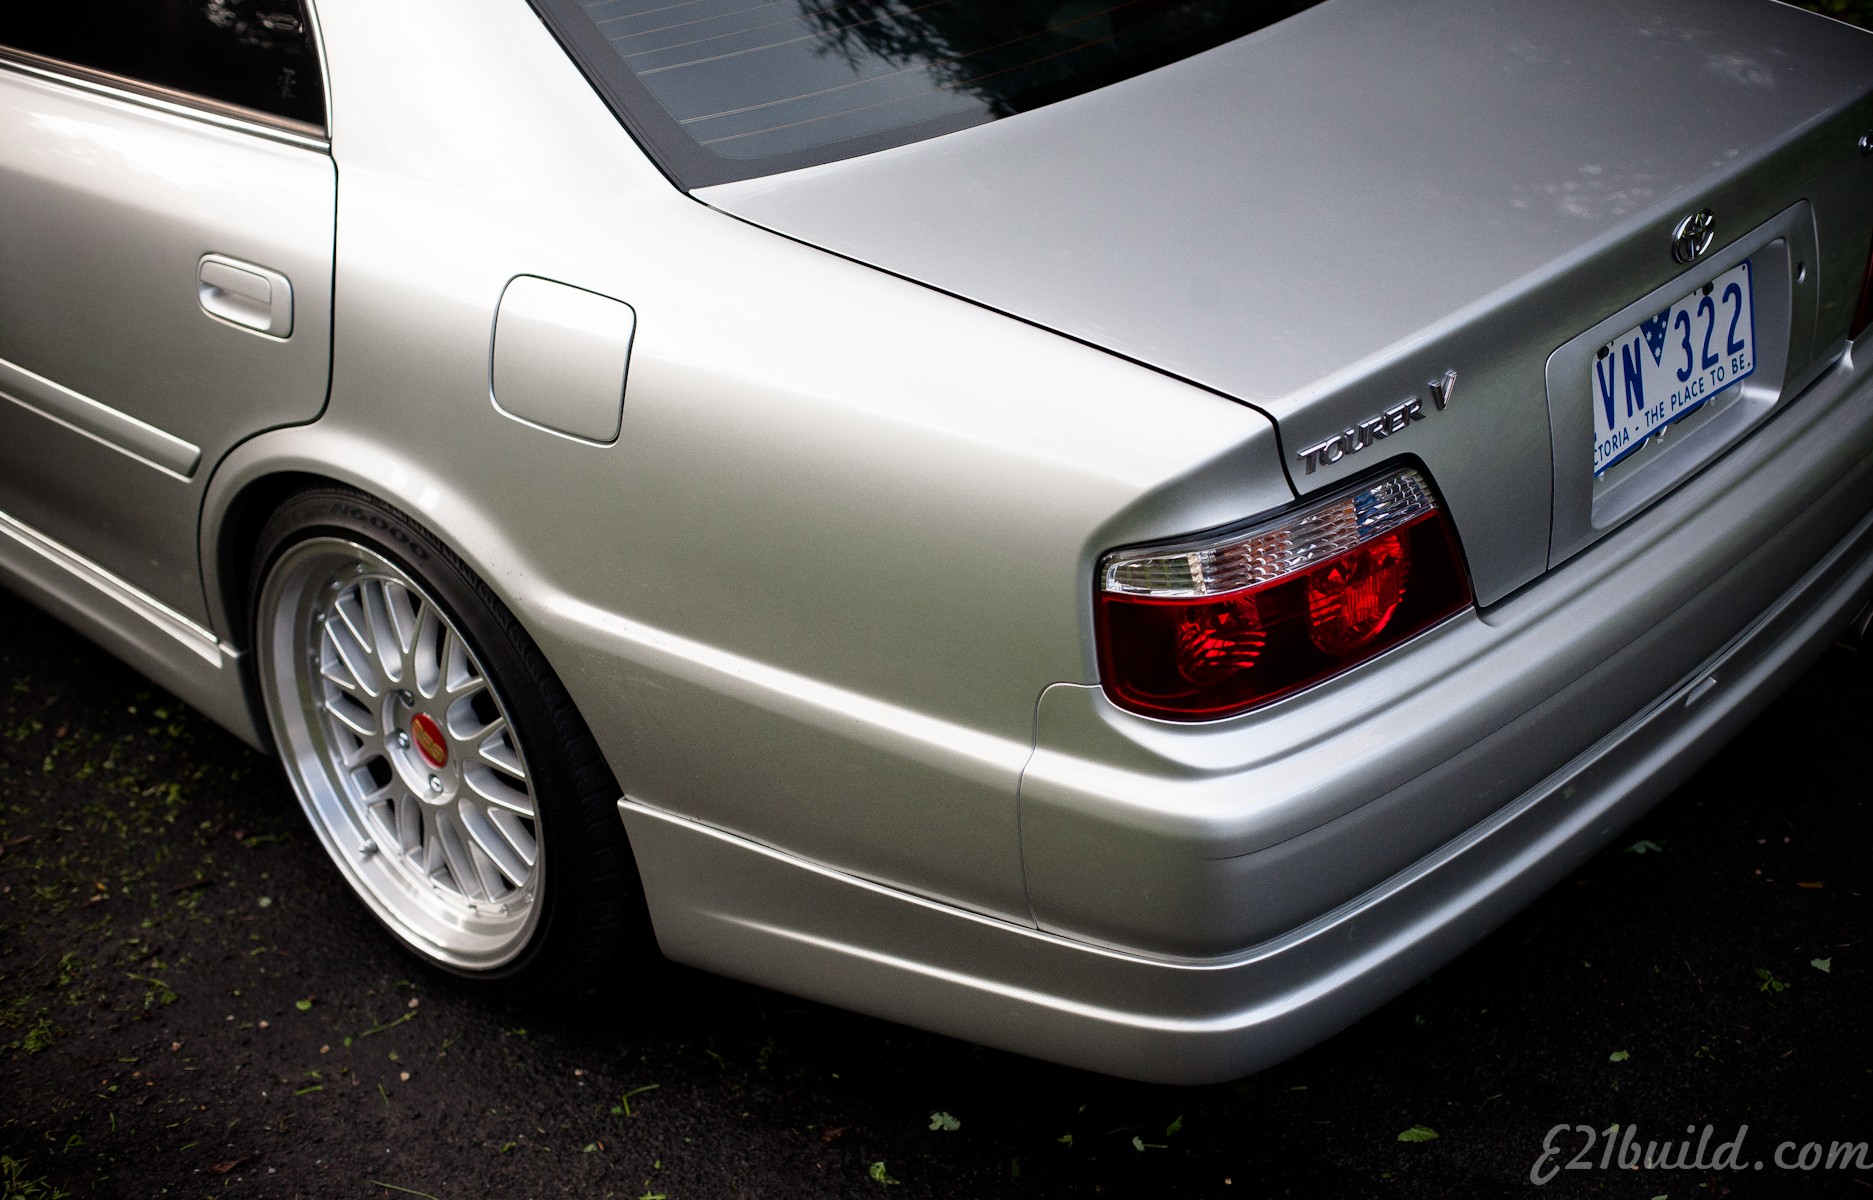
Rocking BBS LM copies in 19x8.5 and 19x9.5 stagger with +40 and +45 offset respectively on Nexen N6000 Rubber - Stretching a 235 for the front and 245 on the rear.


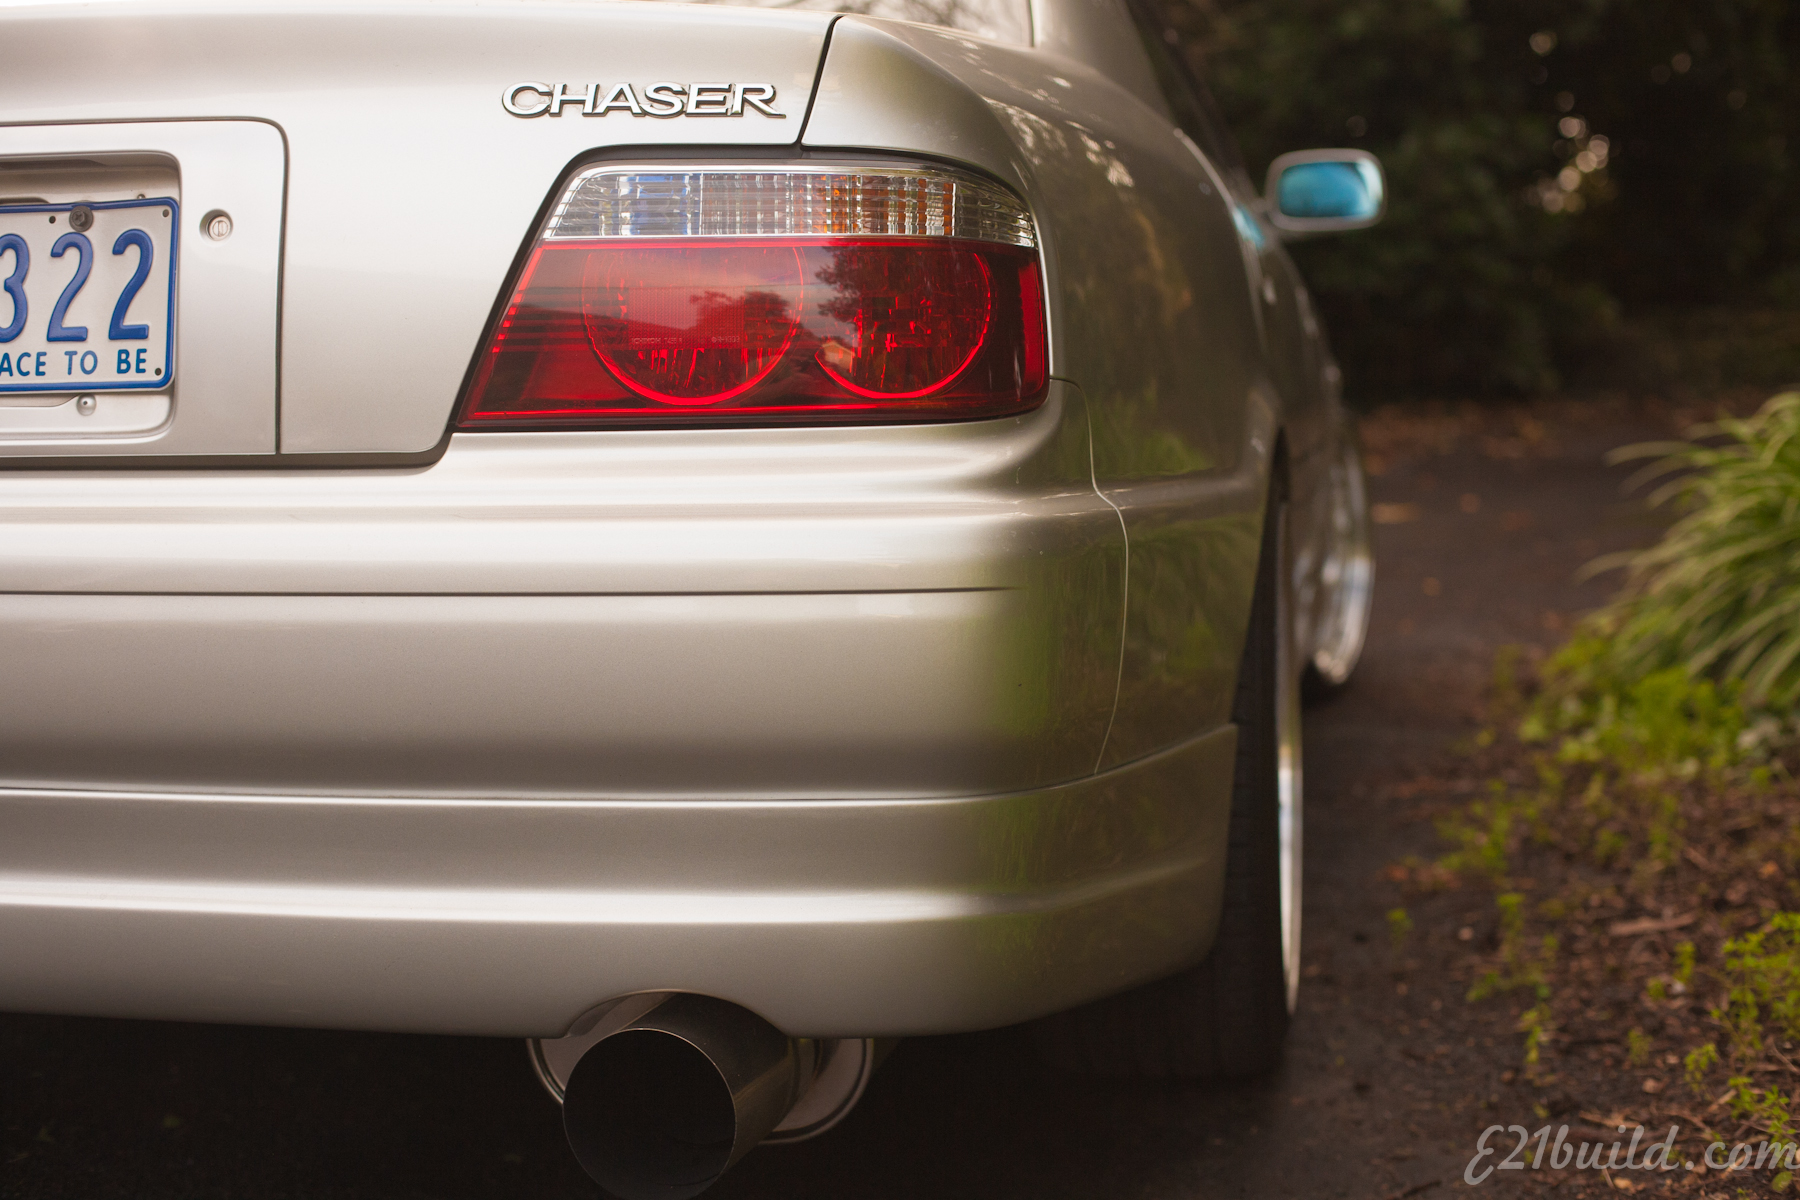
A factory dump pipe mates to a Kakimoto exhaust for a deep note.


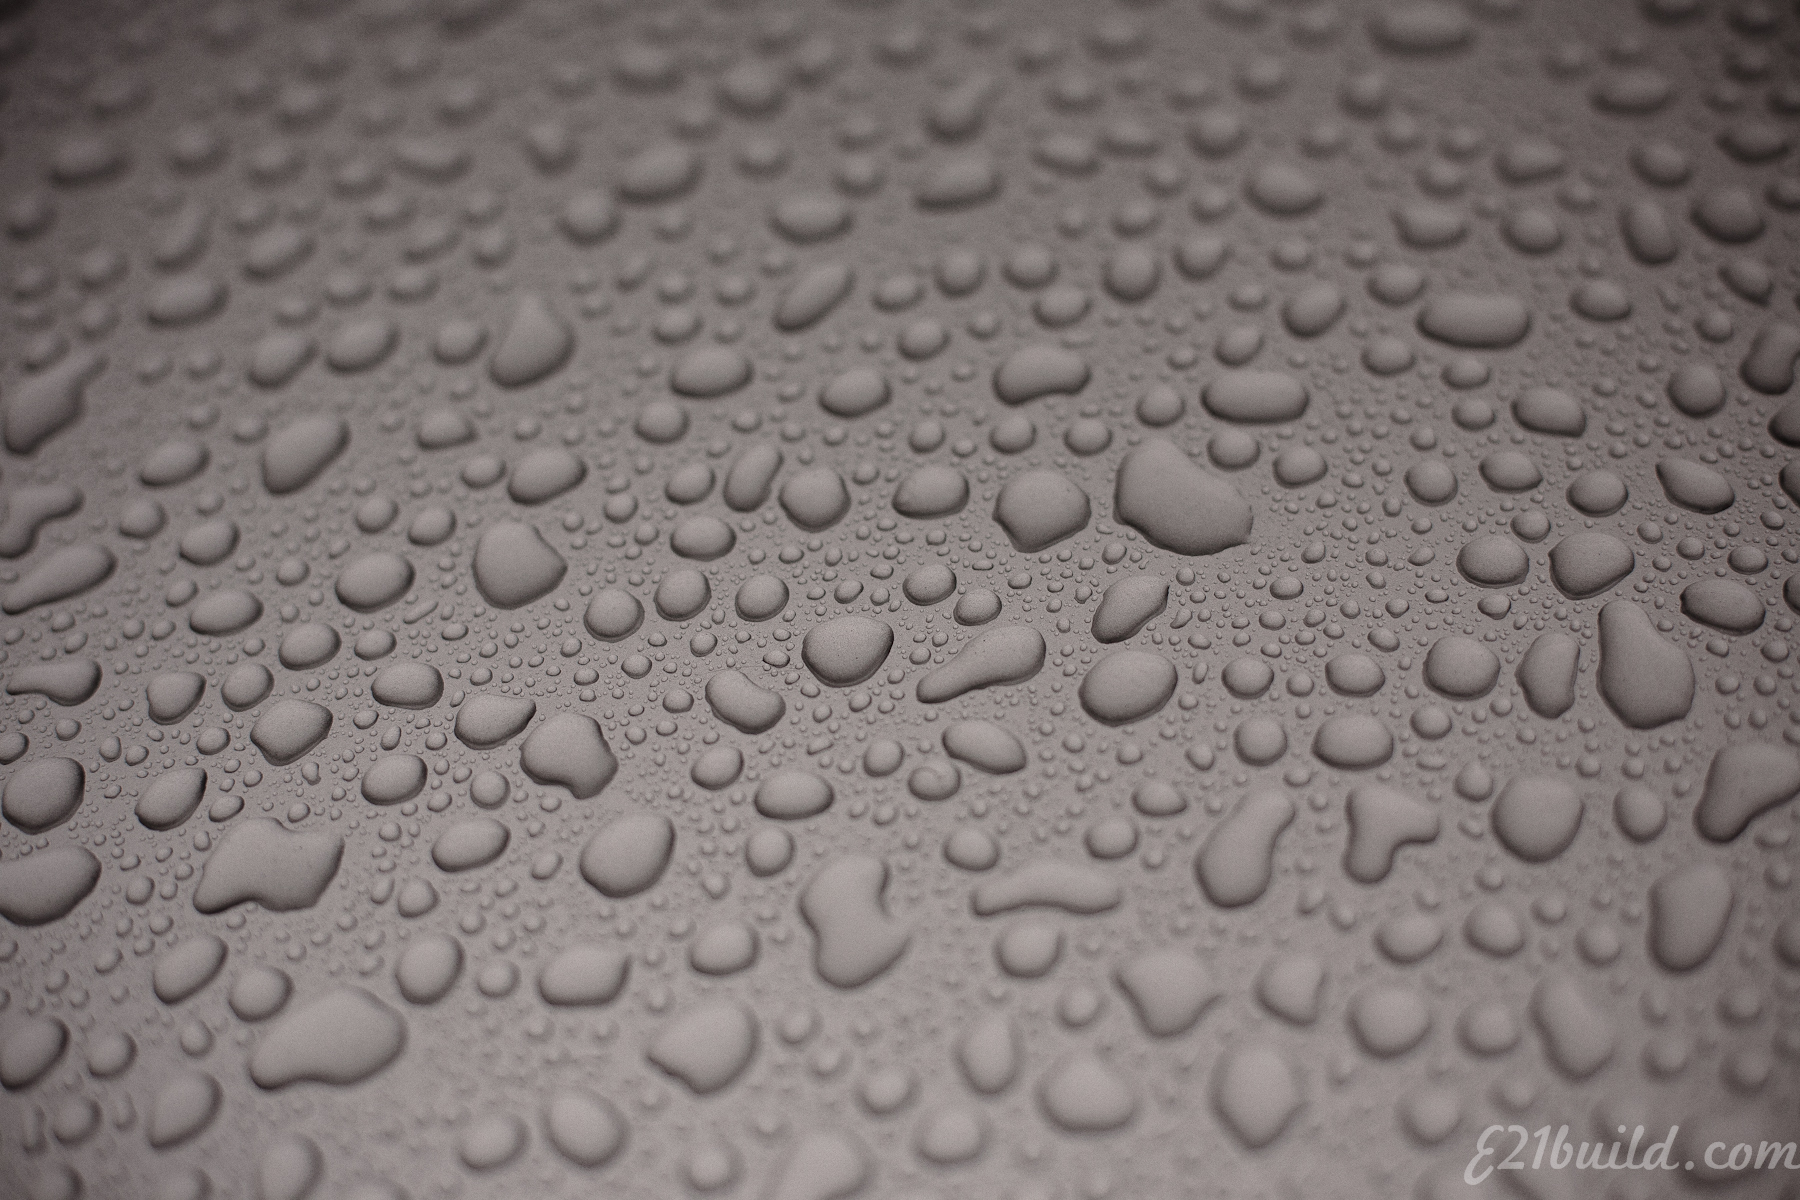
Later it rained... Josh keeps his cars immaculately so of course this presented an opportunity to capture some brilliant water beads at a large aperture.


The vehicle sits on Tein superstreet coilovers and is dialled in for a balance right between functionality and styling.

Saturday, June 14, 2014

Mid Month Update

A few small bits and pieces this time around, not much has actually happened since my last post.


Mitch Hoggan did this fantastic illustration of the E21 and presented it to me framed - it's got pride of place next to the door of the study:


I also received my copy of the Engineered To Slide documentary, Dream Build Drive.


Nigel's blog has been an inspiration and often a reminder that even by focusing on the little tasks, eventually a much larger project can be moved ahead in leaps and bounds.

You can actually watch it for free, but I've bought it because it's available for free, and because it serves as even further inspiration for my own build.


I un-taped the sunroof because despite being functional (i.e. not leaking on my wiring) it looked horrible.


Unfortunately the tape I used removed some clear coat with it! I've got a fair bit of paint/panel work to do on the car in the not too distant future anyway so I guess I'll just fix it all at once - more on this later.


I worked out the cause of the leak - not this scummy build up (although I will eventually get around to fixing that) - but instead the join between the metal of the roof and the fitting for the rubber hose was cracked.


Some threebond black made short work of that. This stuff is fantastic; it's form-in-place-gasket but basically as best I can tell it may as well be sikaflex in a smaller tube. Works fantastically as a glue, to cover over leaks etc.


It's certainly passed the test here.


Back to the rust; I've got a few spots like this on the left hand side of the car, I haven't looked under the side skirts yet but anticipate even more fun awaits there. The area around the windscreen has a few bubbles as well. Looks like it'll be time for welding/bog/sanding/sanding/more-sanding then maybe some paint once we start to get back into the summer months.


Being able to open the roof gives a bit better light inside the car - currently one of my two standard globes in the garage is blown; as a result my abysmal lighting is worsened even further than usual.


I've installed the fire extinguisher in a spot where I can still reach it without my shoulder leaving the seat back. This means that once I've got a harness fitted, even with the harness on I should be able to unclip, remove and operate the extinguisher.


It actually serves as a nice rest for my leg also.


I've been having a bit of a think about building a proper exhaust setup for the vehicle. As is right now it's too loud. Part of that is due to the fact that I have practically solid mounted the pipes at the rear of the car, and there is no flex joint at the front to allow this to actually work.


To that end, I've obtained a flex pipe from eBay to weld in with the upcoming adjustments. Tim Knowles has also let me know he has a spare 2.5" hot dog resonator I can use which I will put near the front of the system.

My plan then is to split the system at the diff from 2.5" to two seperate 2" sections - one out each side of the vehicle similar to this:


Sorry I can't name the source, I saved this file ages ago and do not recall it.

I'm as yet unsure but think I will probably run the pipes over the top of both half shafts.

Currently the vehicle has an oval, straight through muffler (2.5" ID) which isn't really sufficient.


I've ordered two of these mild steel, straight through 2" ID 5" OD 14" Long resonators under the assumption that each will offer similar muffling power to the original oval muffler, but because there are two sharing the exhaust output should yeild slightly less overall volume, without any extra restriction.

I've then got to work out what sort of tips I want to run. I could just use straight pipe, maybe even fashioned as blast pipes; or I could use a 2" to 3" angle cut tip as above.


Or a more retro styled 2" to 2.5" rolled edge chrome tip.... or perhaps get more creative - copper anyone? I've always liked the look of heat coloured stainless however I don't think it would suit the vehicle.


Lastly, I've ordered an 8AN to 8AN full flow fitting to allow direct attachment of the Bosch pump to the fuel cell. This will allow me to better secure the pump, while also enabling the pump to get much better flow from the fuel cell sump. Currently the 5/16" hose feed via 10AN->8AN->5/16 barb adaptors is -working- however I can't imagine it being great for the pump or possibly at high load for the engine if the pump supply were to struggle to keep up. I got an 8AN fitting with the pump, so will be able to use this with existing 10AN->8AN->THIS->8AN-044adaptor

Sunday, June 8, 2014

Another wallpaper for you


This image was shot at the same time as the previous desktop wallpapers I posted, however I initially could not work out how to edit it to look the way I wanted. I finally sat down and spent the time to get it (at least for me) - just right. It's 1920 wide so should work for a number of screen ratios (even scaled)

Tim's "Layd" Hilux Chassis

I was lucky enough to get the opportunity to take these photos of Tim Knowles' "Layd" airbagged hilux chassis the other night with my iPhone. 

It's pictured ready for the body to go on - I was intending on going back with my proper camera gear to get some shots while it was like this but I missed out and it's off to be reunited with a fully painted body!


What you see before you is a one-off work of art, about to be hidden (possibly forever) by the final fitment of the body.

Sitting "aired-out" on the ground, this chassis can lift up to 220mm with the aid of an airbag system designed to sit at a constant ride height of 100mm (despite passenger or cargo weight) with the help of an Accuair e-level whenever the handbrake is disengaged.


In the front, standard Hilux lower control arms meet a Cando upper arm which retains the stock adjustments. Slamspecialties RE6 airbags and Pedders shocks take care of ride control while BA falcon rotors mate to Nissan R33 GTS-T calipers to take care of stopping.


On the rear, Slamspecialties RE7 airbags and custom Koni shocks take care of ride control with AU falcon rear brakes making sure it stops. Rolling stock are a set of one-off billet wheels - a whopping 19x11 inches in the rear and a respectable 18x8 inches in front.


In the rear is a shortened differential, with a 4 link cantilevered setup along with a Watts Linkage and the swaybar from a BA Falcon IRS rear end.


The handbrake setup is mounted to the yoke at the front of the differential, a Ford 9" unit from an XY GT with 4.11:1 gear ratio.


The exhaust is a custom built piece, from the extractors all the way down to the mufflers all being built for purpose, twin high flow Catalytic Converters are also fitted.


Air Zenith compressors mate to dual 3 gallon air tanks to supply the airbag system.


Of course the exhaust and fuel system are only there to support Tim's LS1 block taken from a Holden Commodore which runs aftermarket heads with a big cam. Power is delivered to the driveshaft through a Corvette T56 transmission.


The fuel system is a sight to behold, from the custom built BBZ sumped aluminium fuel cell to the 1/2" lines and braided hoses.


I'll make sure to get a full complement of shots once the vehicle is all together!