Friday, May 30, 2014

Cup holder, washer bottle and dash lights

So I've been doing a couple of things to make the car easier to live with since I've driven it to work a couple of times in the last month.


The first is a cup holder. I can't live without a morning coffee, and also I've got to put my logbook somewhere. It's out of some sort of Nissan and I've just drilled holes and screwed it into the trans tunnel in front of the shifter. It works well.


I've also cable tied and tidied some of the wiring mess. The original wiring was fairly well tied up out of the way but I've been adding bits and pieces that were lacking as I went so there were quite a few extra wires to tie up out of the way.


I also properly mounted the kick plate to stop passengers kicking the wiring and risking damaging it. It originally had one screw in the bottom left and just a wire tie at the top - now there are two screws at the bottom and two at the top.


I also mounted the fuse holder for the main ECU/ancillary power supply lead and used that mounting to tie all the battery leads together.


I made a thicker, uprated battery feed to the power switch and to the ground, as well as replacing the terminal on the engine-to-engine-bay ground.


I mounted a falcon washer bottle and wired the pump in. The factory BMW hose was long enough to work with this.


Aluminium checkerplate straps were perfect to secure it at the top.


Along with a slot at the bottom.


I also hooked up an LED strip to light up the cluster. Driving at night before with only the oil pressure gauge lit up was a bit odd.

Also worked out the timing was off (way too much advance) which is why it was a real struggle to start the vehicle especially when warm. Retarded it about 5 degrees and it now has no traction in second, as well as first. Scary... but fun.


Sunday, May 18, 2014

Desktop Wallpapers - 1920x1200

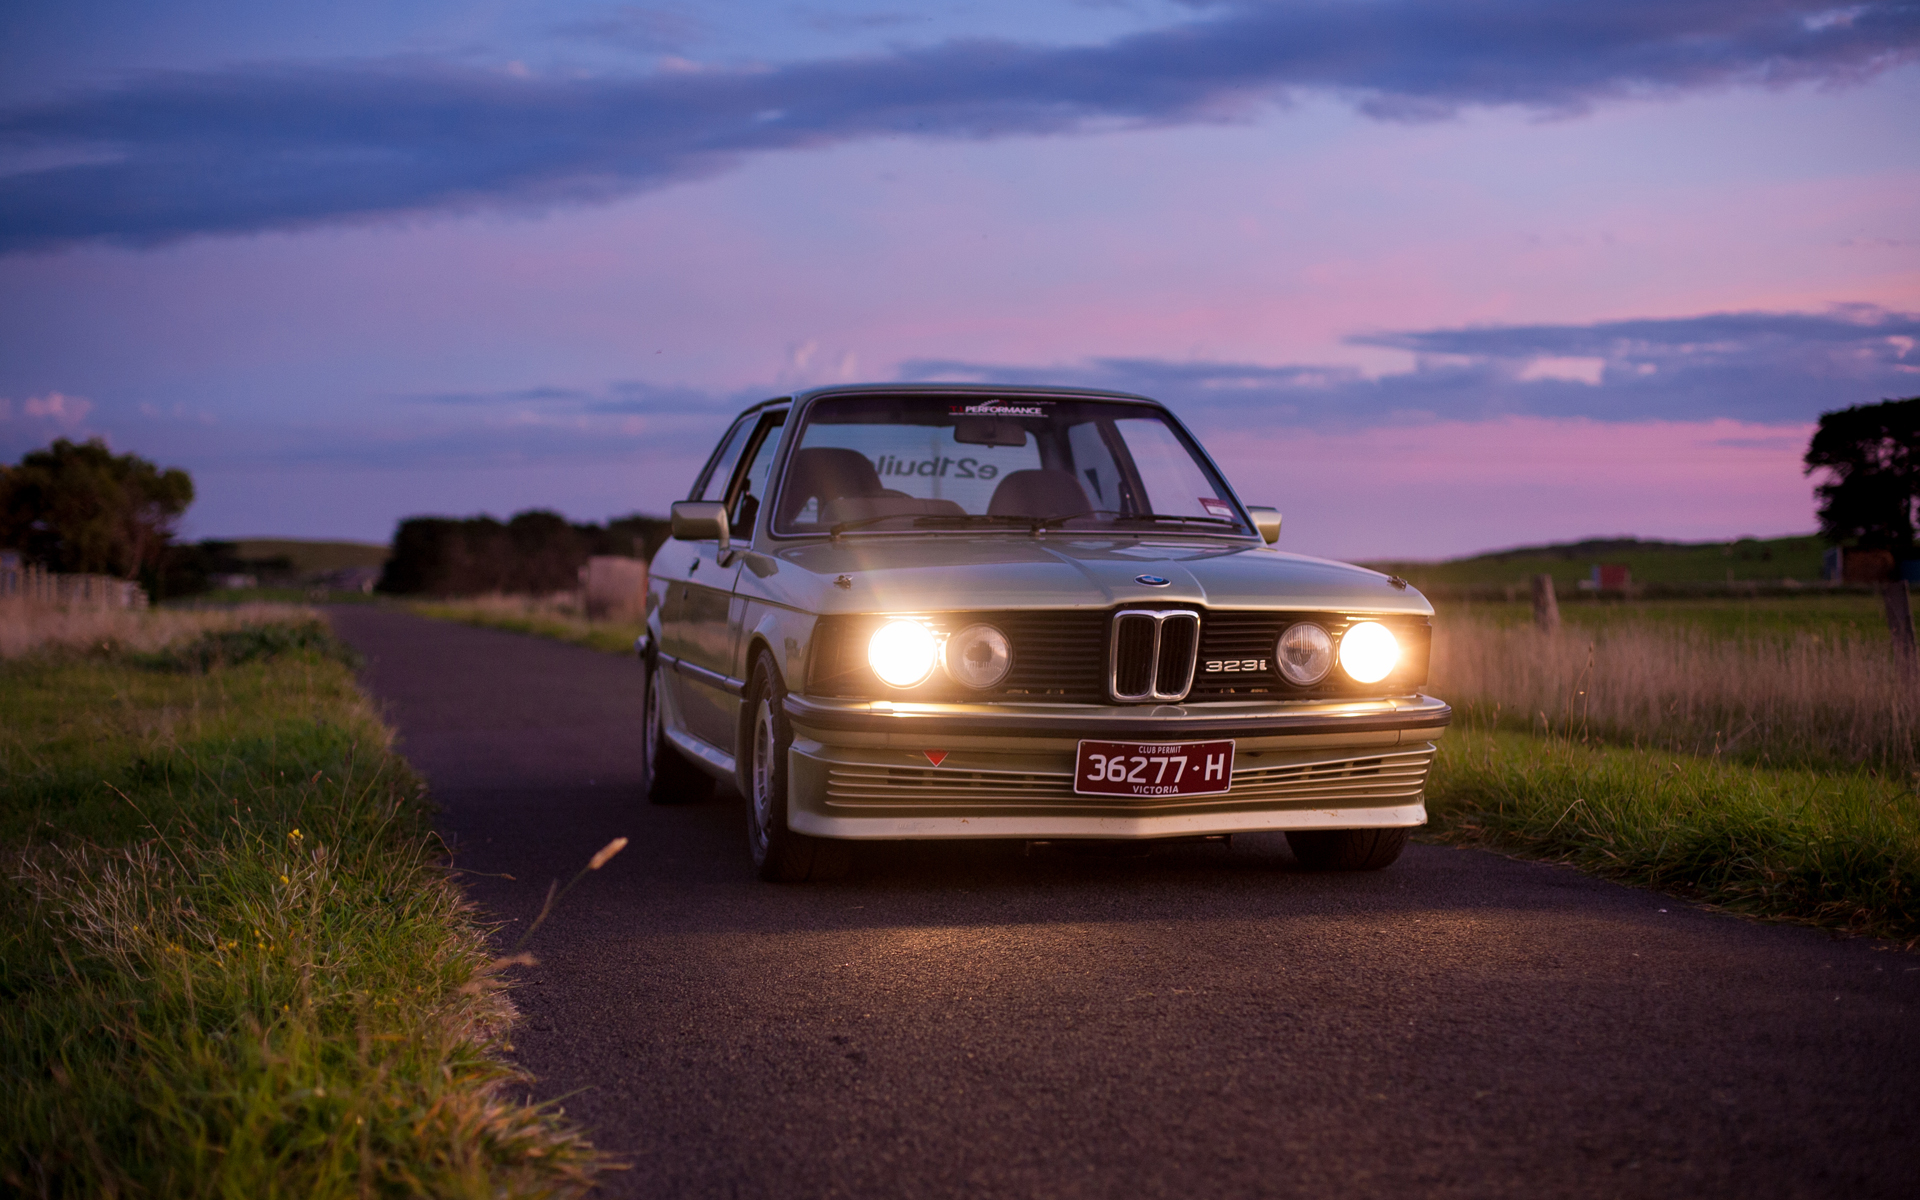
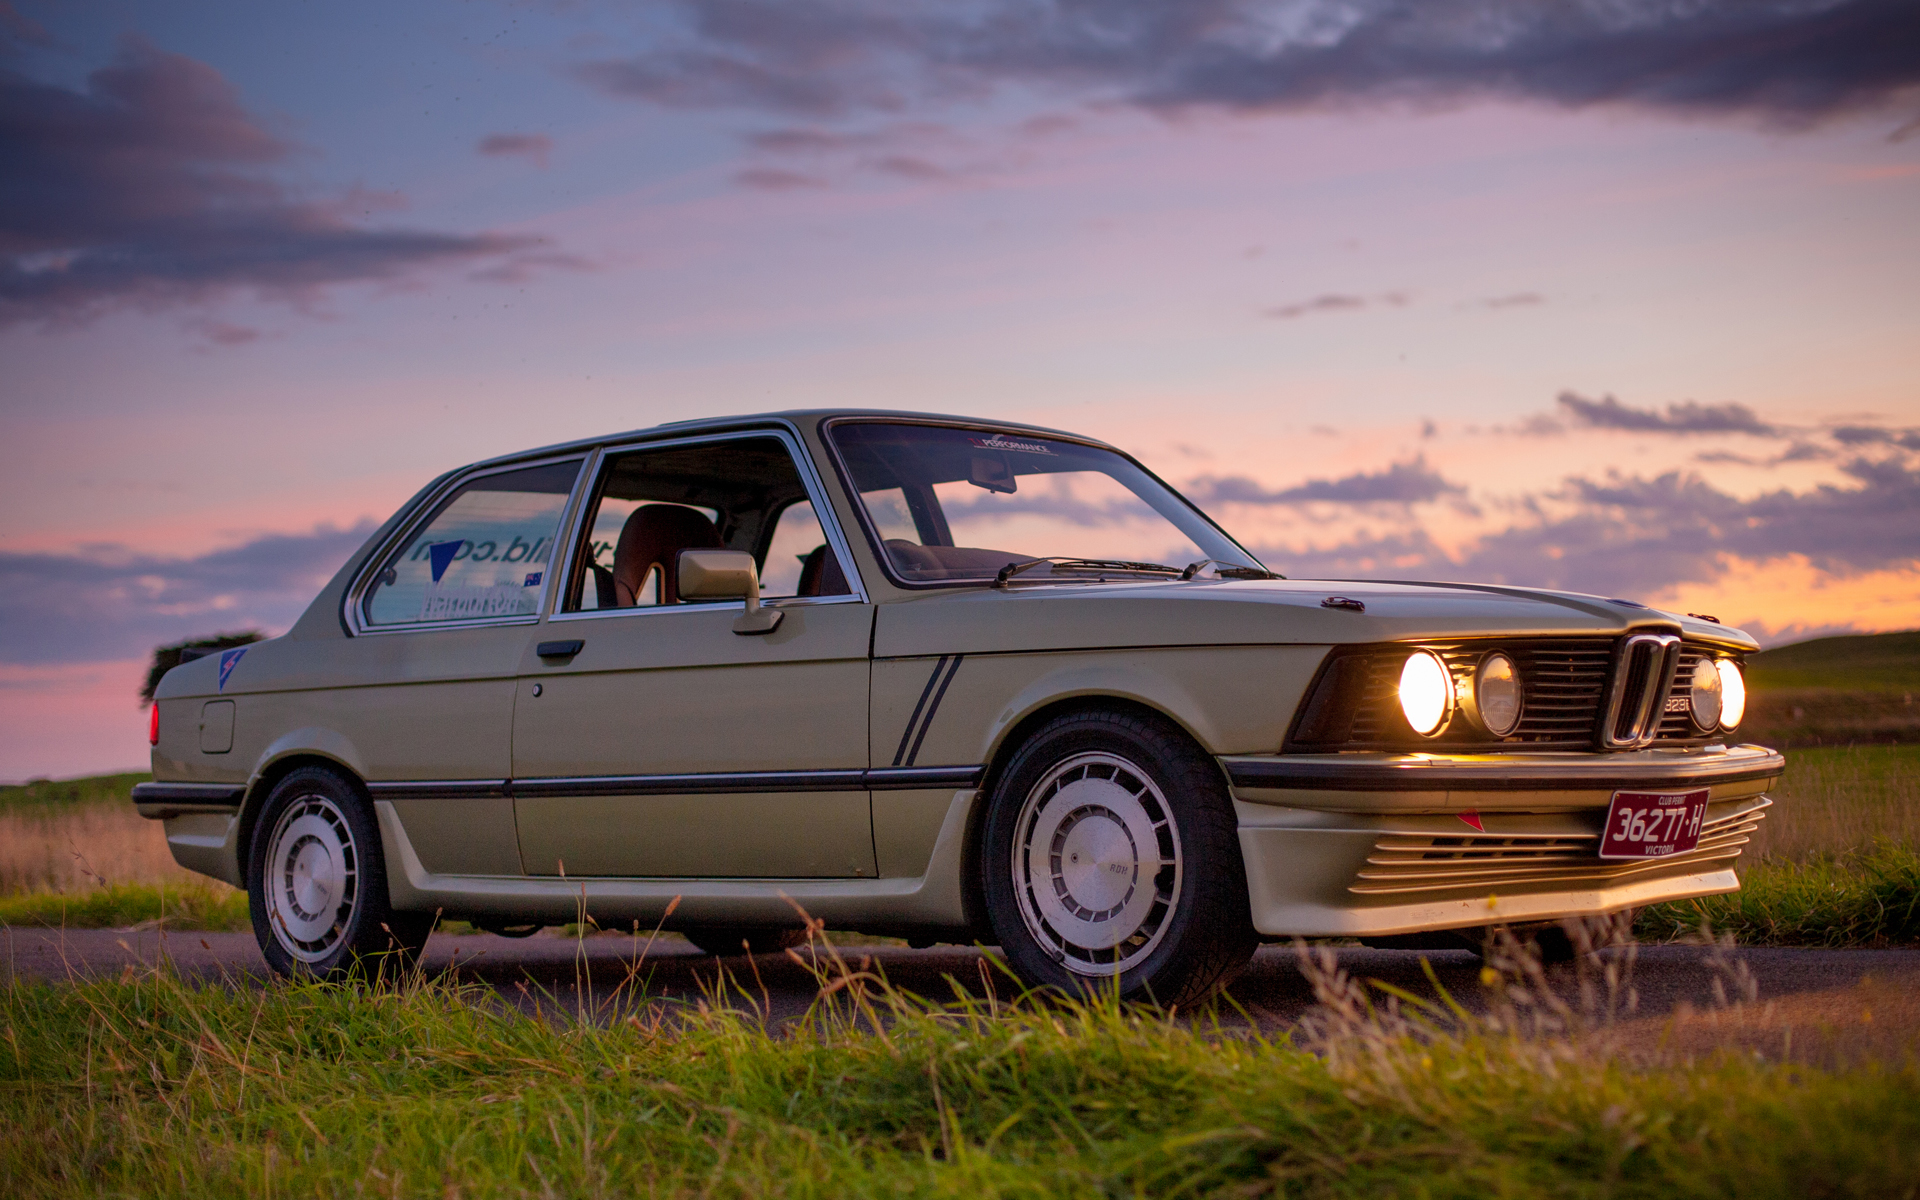
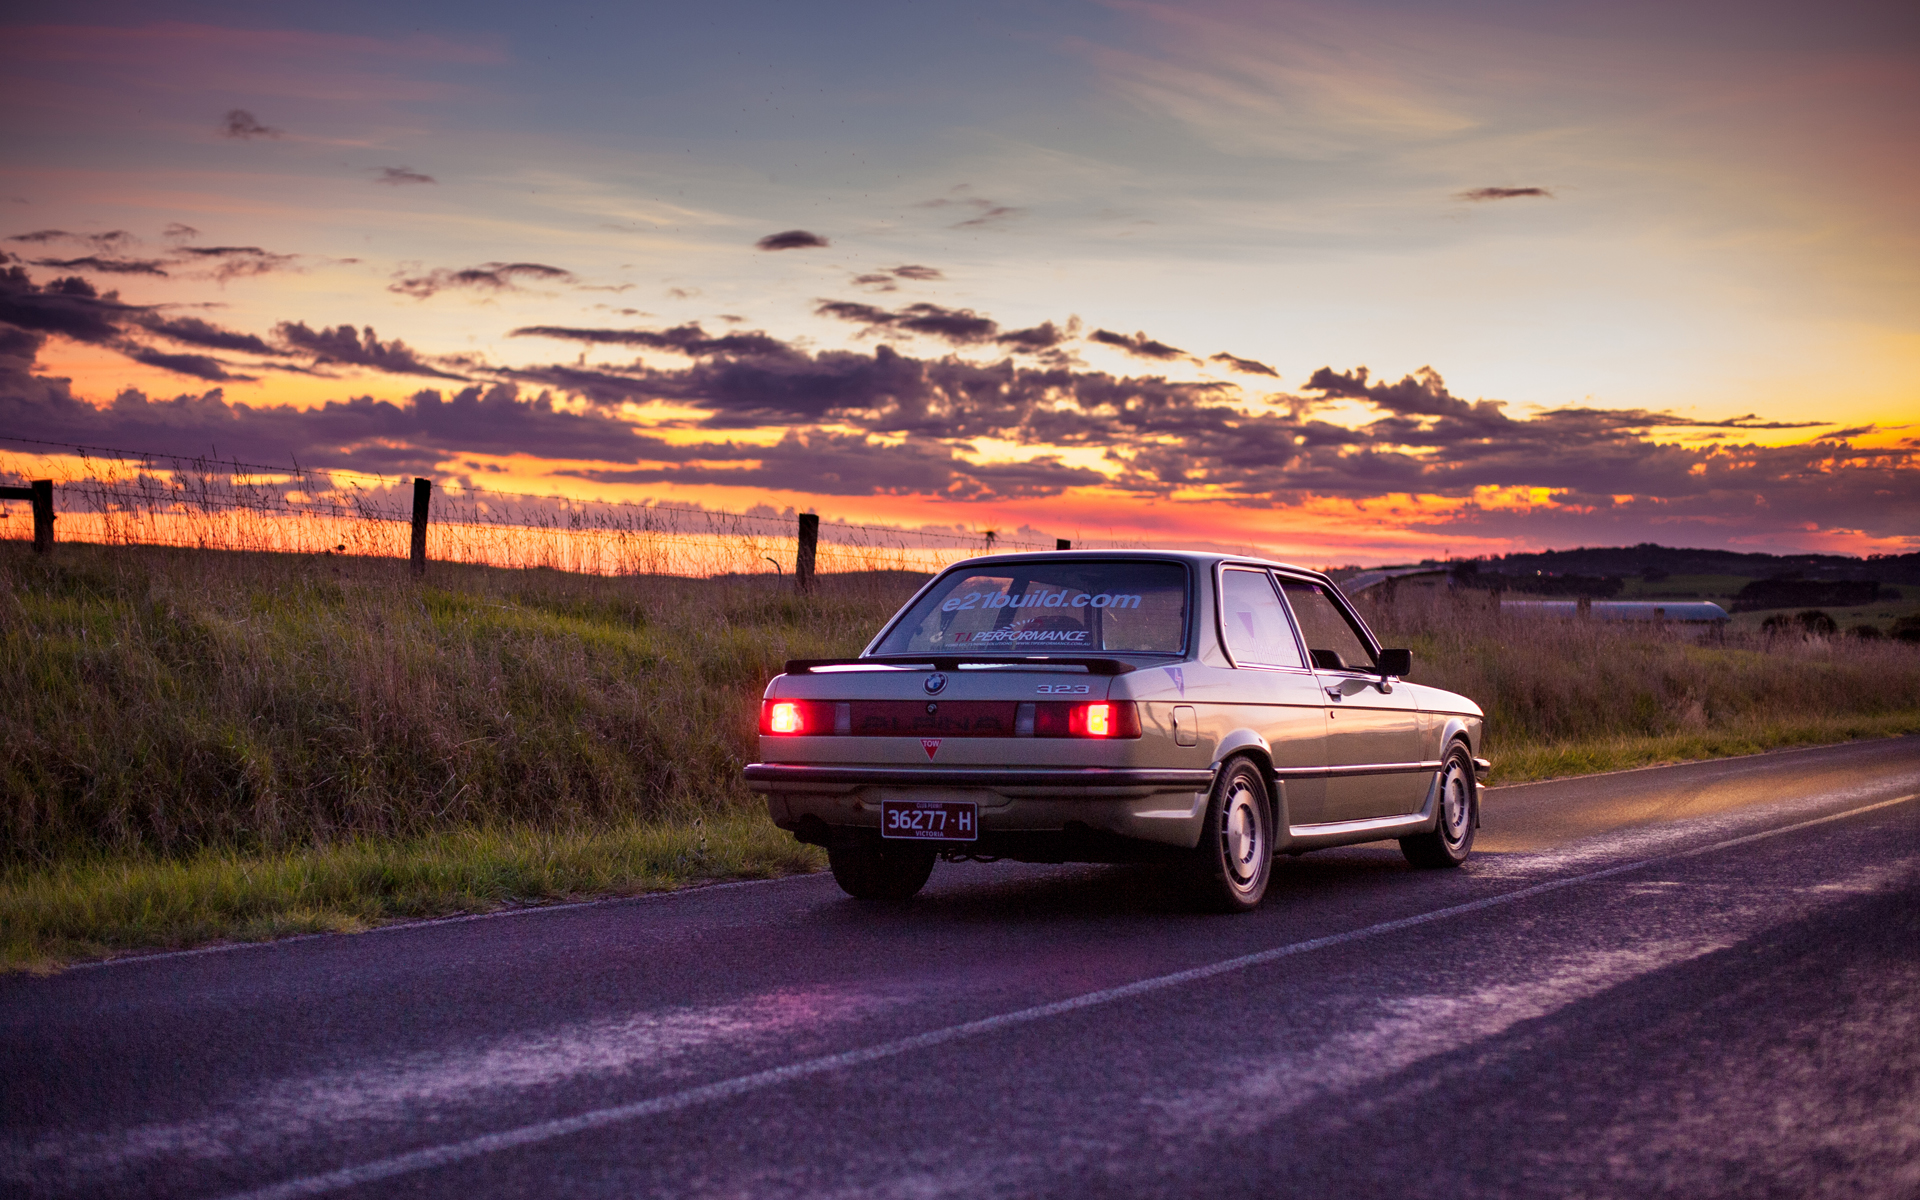
Took the E21 out for a little photoshoot the other evening after work. I thought I'd missed the sunset but in fact managed to capture some amazing colours regardless. A tripod would have made it a bit easier to get the shots I wanted.


You can right click to download as 1920x1200 res which should scale for most computers. If you want a higher resolution let me know and I'll see how I go sorting it out for you.


The drive to take these shots highlighted a few issues with the car; the first two I have sorted -
There was a slight leak around the seal of fuel cell. I have tightened the screws in the past but it still has a minor weep, I've now put a bead of threebond black around the filler ring. Hopefully sorted now!I also purchased a fire extinguisher which I'll be fitting soon. Also, the steering wheel wasn't quite on straight. Easy fixed.

Also a few issues which only had temporary solutions and need re-doing - washer reservoir, proper sealing between cabin and under bonnet, seam sealer to bellhousing, weld & seam seal rear corner of passenger compartment near tailshaft hump, clutch pedal stop... the list goes on, as always!


The biggest issues are the lack of a bash plate to protect the sump (as it hangs quite low) and also the brakes. The brakes are terrible given the vehicle's new found power. I'm not sure if a re-bedding process will sort them out (as they've hardly been used in 4 or so years!) or if I need to move forward my plans for upgrades in this area to suit. I'll try bedding them again first, and replacing/rebleeding the fluid.

All photos taken with Canon EOS 5D MkI and 50mm f/1.4 Lens.

Sunday, May 4, 2014

Freshly washed


Washed all five of our cars today. Things might be getting a bit out of hand.

Thursday, May 1, 2014

Driveable once again

Since I attended the Warrnambool Drag Races on the 13th of April, I knew there was another event scheduled for the 27th. I decided it would be nice to try and get the car up and going again for that event.

Before we go too in-depth, here's the go-pro footage Michael Hamilton took at the first meet, of the two runs prior to breaking the CV.


Note the amount of negative camber under load. I need stiffer springs or coil overs.

Anyway, first step, look for replacement CVs or complete half-shafts.

Shit out of luck there. I did find a CV which looked like it might suit on eBay internationally but it was around $90 with no freight option to Australia... I found some vague references to Land Rover half shafts or using Porsche 930 CVs.

I decided to measure what I had, since nobody would actually confirm what was or was not usable. Charbel refers to using "Early Datsun" Halfshafts but didn't respond when I asked what model datsun he was referring to. Since I think he's from the states perhaps he's referring to early Z cars - 240Z etc? I am still unsure if those are just a bolt-in item.

Either way, this is only really a temporary fix - I fully expected the axles/CVs to outlast the diff center itself, so you can imagine my surpise when that didn't happen.


The next step, then, was to remove what was left of the broken CV from the driveshaft so I could count the splines and measure the diameter. I also measured the CV itself as well as the bolt PCD. Bugger, 26mm OD 24 spline. Porsche 930 CVs are 28 spline, they won't work.

Neither will anything else as it turns out. To use a 930 CV (assuming they run the same 6x M10 bolts at 86mm PCD on a 100mm CV) you would also need custom made axles. Perhaps with an R200 center down the track...

The longer term plan at this stage involves a Nissan R200 center, modified (again) tailshaft, and either modified subframe with custom axles, or replacing the whole subframe with one from a Silvia or Skyline... This still needs more research before I decide which way I'll go; I am not too afraid of widening the rear track but packaging of the strut towers could prove to be the biggest hurdle. If the rear track gets widened then I'll just build Group 5 style guards and do something with the front as well.


I post links to this blog on a number of Facebook groups, as well as four or five different forums. Statistically, you're most likely to be reading this right now as a result of the Facebook posts, rather than clicking through on a forum.

A true gentleman by the name of Craig Saxon who hails from the ACT spotted my post on one such Facebook group and responded that he had spare half shafts that I could have for the cost of postage. At this stage I still had a week until the next drag meet.

One problem though. Easter. Easter Public Holidays. Anzac Day. Australia Post. The combination of these things does not work at all well, according to many of the people on my Facebook friends list. Complaints of 12 days wait for items to arrive from Melbourne and Sydney worried me.

Craig tried to get the CV from his parts car which is located some distance from his normal place of residence, but lost his Allen Key part way through. Instead of just putting it off until the next time he could make it there, he removed one from another vehicle closer to his home in Canberra, and I decided that despite being Wednesday it was worth sending Express Post rather than regular (for ~$65 instead of ~$25).


Thursday (the last working day of the week) rolled around, and no parcel arrived. I held out the hope that AusPost would have contractors working Saturday due to the horror stories I'd seen on Facebook re: delivery time (they do it at Christmas time to ease the load). No such luck.

Sunday rolled around and I attended the drags. I took my camera gear and got some fantastic photos which I've posted to flickr (https://www.flickr.com/photos/silencer_rh/sets/72157644303278646/with/14029186552/)

As a result of not having a drive-shaft, I couldn't test or compete. I was tempted to put the E39 in but since it's my daily, decided it wasn't such a great idea.

Monday came - the half shaft arrived! Craig had thoughtfully decided to send me all the bolts along with it... except for one which went missing somewhere along the line.

I figure, that's ok as I have more - until I test fit one:


What's this? The bolt is WAY too long and will foul on the diff housing or suspension upright.


The replacement half shaft is from an '83 323i. Mine is a '79. I figured I had the later CV because of the 10mm bolts, but it appears that besides from the change to 10mm bolts around 1979, there were more changes along the way. Perhaps this one won't break so easy. The overall length is the same, so off to the local bolt shop to buy a replacement bolt.


$2, some time with an allen bit socket and my breaker-bar, and the half shaft is installed with the bolts torqued to 40ft/lb (this was the best guess I could ascertain from a google search)

Test-drive time! Oh, the battery is flat again. Bastard.


Oh well, there's the time to fit the front bumper. I use the two end bolts, and then just wedge some rubber falcon sway bar end link bushes between the "bumper" and the front bar to keep it level. I can't use the factory mounts because there's kind of a radiator in the way!

I also fitted the front 79 Paderborn plate I got from Marvin Gloger to whom I sent some Victorian plates for his Ford Australia Fairlane that's somehow found it's way to Europe!

The vehicle fires up and off she goes for a test drive. Heat cycling the tyres have made them a bit grippier as pulling in and out of the driveway the welded diff shows itself a little less subtly than before.

The "turn on the throttle" feeling and odd axle tramping from the single driven wheel has gone. No odd vibrations or noises. We're all good again....

What's next?

Wednesday, April 16, 2014

Prepped then Broken


Picture this - I get a phone call from Hamo "you're taking the E21 to the drags, like it or not - I'm paying".

Honestly, I don't care that he's willing to pay - "I'll just break something" I protest.

"Plus, I want to weld the diff before I go out so I've at least got some traction, and I -hate- the smell of diff oil".

The response "I'll come around tomorrow night and weld the diff".

I considered his offer of assistance, decided it worth pursuing and proceeded to jack up the car to get it ready to drain and weld... .


...then drained it - since it was already up in the air, and cleaned it out by spraying acetone from a spray bottle.... then welded it while I was there for good measure.

I refilled it with SAE90 diff oil (just happened to have almost the perfect amount lying around??)


So when he turned up the following evening, the garage already stank of stale diff oil. Only the timing remained to be adjusted. At first glance, there's more room in the E21. On further inspection; it's very - VERY tight. The problem is the approach angle. Hamo assures me you actually need rubber arms to achieve this task with any form of ease.

He must have rubber arms.

He got it done.


What he also got "done" is this brilliant window sticker.

It's 400% bigger than I imagine necessary.

I'm very impressed.


Off we go to local plumbing services provider Cri-Tech who have agreed to sponsor the use of some left over materials and their equipment to manufacture door skins and other miscellaneous parts I erroneously believe I need done before I can pass scrutineering.


A fan guard/air guide is guillotined and fitted.


I think to myself, a shed like this would be nice to have.


Plenty of room, multiple locations to work on a car.


Door skins are made and screwed on with self tappers. 

I make a floor for the driver's side.

I later decide it's terrible and throw it away.


My cousin Fletcher turns up, replete with battery drill and a supply of screws - he intrepidly secures all of our creations to the vehicle.


The car looks a lot less "thrown together" and a lot more "carefully planned and executed".

I think this is wonderful.


Back home, I decide that the front fan guard is boring.

I put some stickers on it.


To the petrol station! I don't think many people fill their cars via the middle of the boot.

An uneventful drive to the drag strip.

One run down - no traction through first, still sideways through second - cross the line at 72.46mph (1/8th mile) in 11 seconds.

I think this is woeful. My EB managed a 9.2 with a slower motor.

I go again. Still no traction, half throttle through all of first gear.

74.38mph and a 9.9 second. Ok, It's headed in the right direction - but the motor is heating up from doing a flat out run then idling for a long time. I park and let it cool down.

Out again, this time I'm going to do a decent burnout and try and warm the tyres. Hamo, get out your phone and record this!

The burnout goes well.

The light goes green.

BANG. That's not good.

Oh look, I've broken something. See Hamo, I told you!

The car drives very strange, it turns on the throttle and axle tramps what feels like one wheel. 


Back at the pits, one of the half shafts has about an inch of play. Hamo removes the dust cover and is greeted by a ball bearing and pieces of bearing race.


The CV joint has suffered what can only be described as a monumental, fatal failure.

I need another.

There aren't any? (anyone have any hints?)

Maybe a driveshaft? Nope, none of those either.

Oh well. It's still moveable, thanks to the welded diff (I removed the broken axle)


At least Scarlett likes the new sticker!

Tuesday, April 8, 2014

Single Piece Shaft!


My tailshaft came back, nicely tig welded.


A quick spray with some black paint to keep it from corroding.


I don't think I've shown the complete shaft before, so here it is. Sorry if the camera angle makes you feel ill - the iPhone accelerometer seems to struggle when aiming almost straight down. 


I also replaced a flange on the back part of the exhaust, it was leaking quite badly as it was actually the wrong size. Remember this was only originally to be a temporary exhaust.


Finally, the car back down on the ground.


The test drive proved conclusive: the new, single piece tailshaft is awesome! No tailshaft vibration at all. 

I did however have some dramas as you may have seen. First, the battery was almost flat. I got it charged enough to fire into action the first time around but it unfortunately wasn't really enough for a second go.

The other thing is that the front right hand side brake caliper was locking on. Pedal feel was quite average and pulled to one side, and there was quite a smell of brakes.

Unfortunately a combination of both things made the car quite difficult to roll start - indeed in the video you can see I'm pushing the car backwards down a hill with my foot out the door to get enough speed to roll start it.

The solution to the battery problem is simple - charge it.

The solution to the brake problem was also simple however I took no photos of the process.

I removed the wheel, brake caliper and pads, pushed the pistons on both sides back into the brake caliper (the inside one was very,very hard to move with my g-clamp - guilty!!), refitted, pumped the pedal, removed and pushed back again, and refitted. 


Scarlett is happy the car is back on the ground as she can now climb up onto the boot again.

Tests today showed that the car has even more poke when the brake piston is not sticking slightly on. Stomping the throttle in second gear is just a recipe for wheel-spin even at low revs.

Awesome.

Friday, April 4, 2014

Tailshaft Progress

After my last post, I cut the tailshaft just shy of the total length, to test for trans tunnel fitment. I then also cut down the E21 tailshaft (not pictured) and slid it inside the falcon shaft. This was then fitted up to the gearbox and the diff, measured, and sent away.


Tonight, the guy doing the work on my tailshaft turned up with the adaptor made and pressed then tacked into place, uni joints clocked.


This was so I could test fit and ensure that with the adaptor fitted, the tailshaft could still fit onto the vehicle. At first... it didn't.


Somehow, despite owning two bottle jacks, I couldn't even find one. The single piece shaft slides up the passenger side of the diff, then you lift the front and slide into the box. Before the adaptor was fitted, there was enough flex in the shaft because of the diameter differences for it to clear the tunnel. Afterwards however, the edge of the tunnel (where it opens out between the factory fuel tanks) was stopping it from lining up and sliding into the slip yoke on the gearbox.


I gave up subtlety with the jack, and got out a wood splitter and the trusty angle grinder.


And butchered the poor trans tunnel some more. The main problem area has four pieces of metal meeting which means it's impossible to just hit it and bend it, it needs to first be cut with the grinder. Because the seat is in the car, I haven't yet welded it back together - I think down the track I will probably cut a section out and weld a new piece in.


I also had to cut off the mounting points for the standard center bearing. The shaft finally went into place and could then be checked - measurements are looking spot on!


I also got some stickers to get the car a little more ready for track work, with thanks to Karl Thomson for the first set, and the inspiration to order the second battery triangle for the opposite side rear window.


It's looking a little more like a race car now :)